Configuring Prosys OPC UA Modbus Server
04.05.2016
Due to the rising demand of OPC UA connectivity for existing Modbus devices, Prosys OPC developed a cross-platform gateway to meet the demand. The result is the Prosys OPC UA Modbus Server, which was released on April 14, 2016.
OPC UA offers secure, platform independent solutions for industrial internet (IIoT) data transfer and system architecture. The Prosys OPC UA Modbus Server supports both Modbus TCP and Modbus RTU over TCP protocols to cater all of the existing Modbus installation needs.
We thought it would be good to create a short tutorial on how to configure the server. In this tutorial we introduce using the Modbus Server on Windows. In addition, the Modbus Server is designed to be used on a variety of platforms, including Linux and even headless server setups.
Configuring a modbus device
In this tutorial a 14-channel Advantech ADAM-6051 Modbus device is configured to the OPC UA Modbus Server.
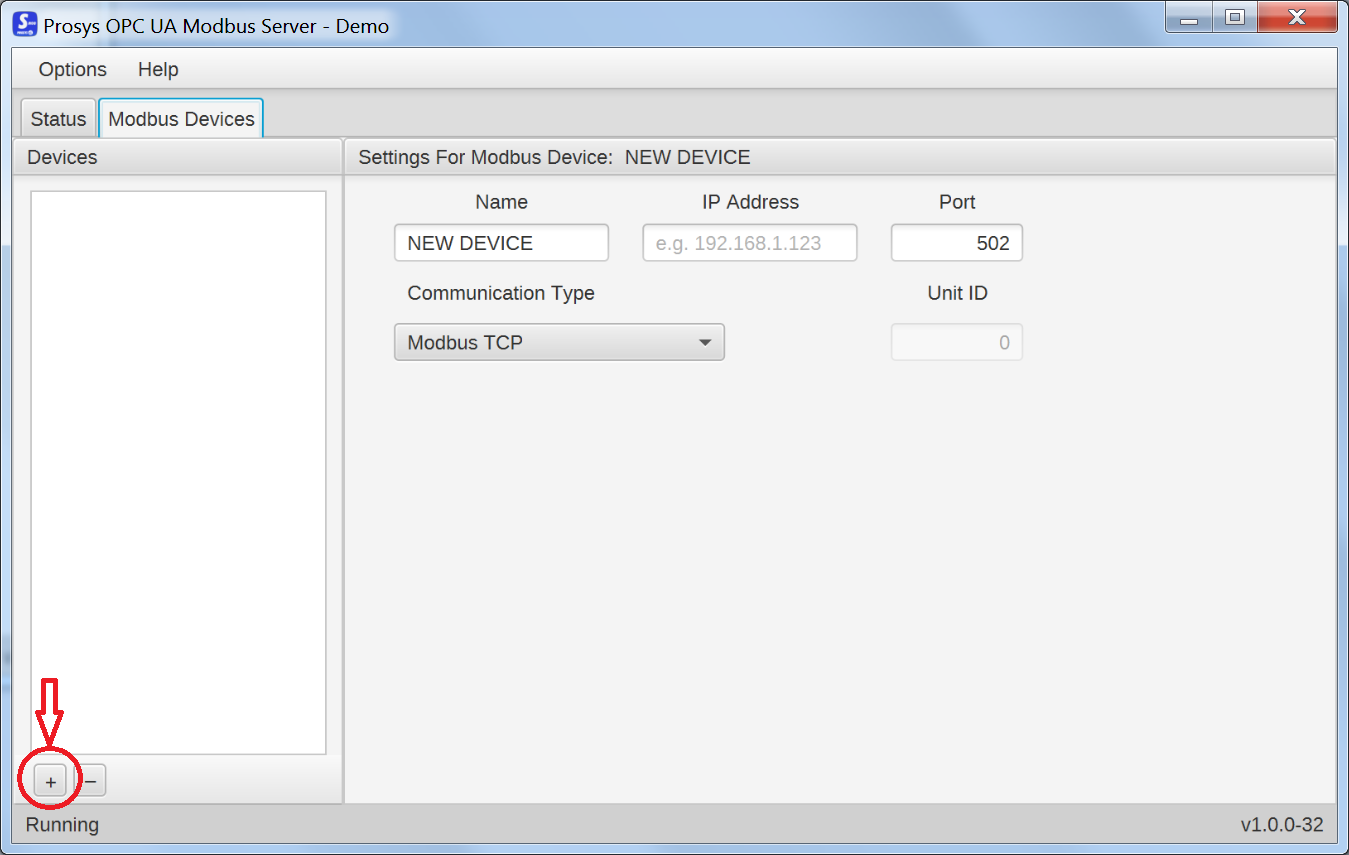
To add an existing modbus device to the server, navigate to the Modbus Devices tab and click the plus sign in the lower left hand corner.
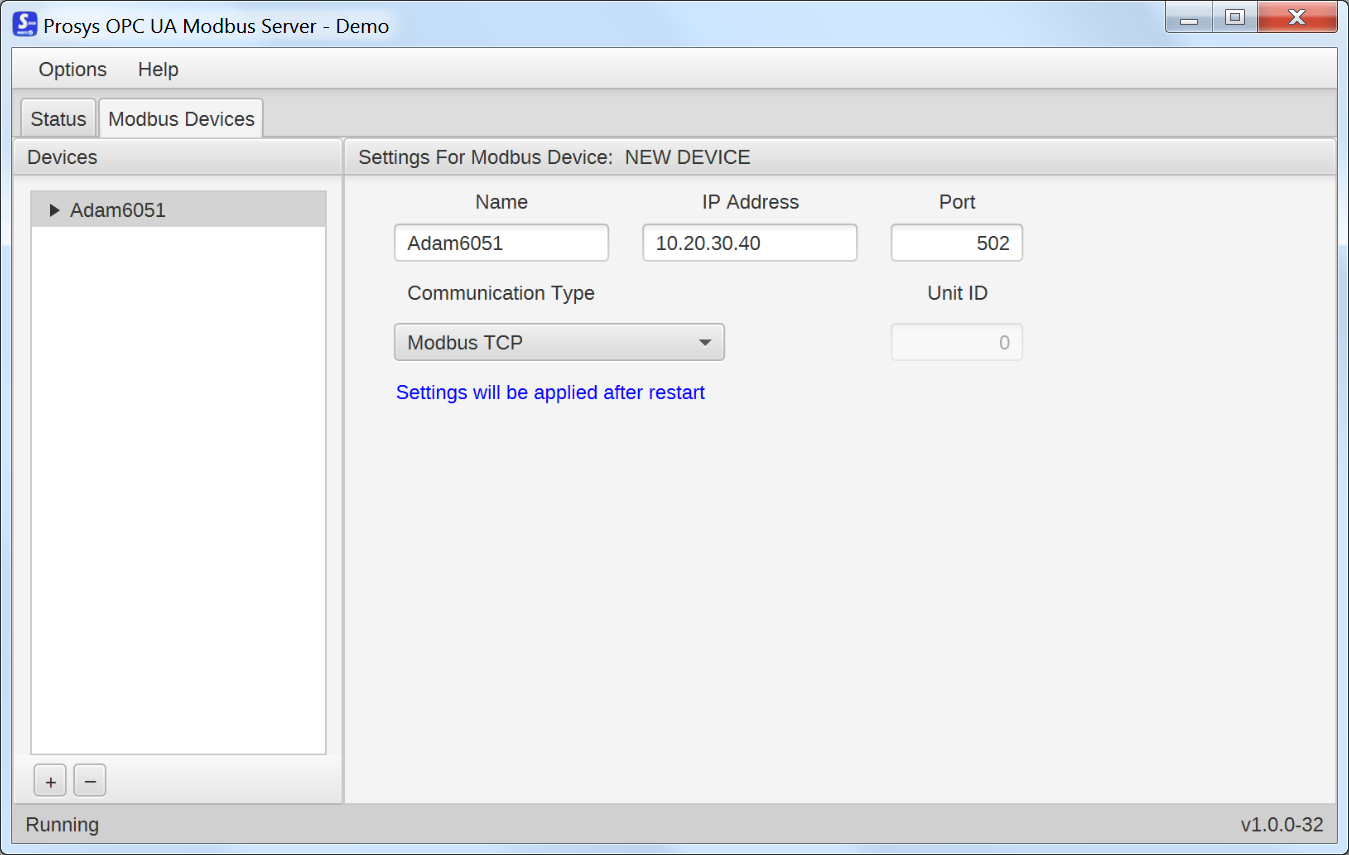
Next the Name and IP Address of the device should be set. The Port defaults to the standard Modbus port 502, but it’s configurable if needed. The Communication Type should be set to the protocol that the modbus device uses, which in this case is Modbus TCP. The supported types are Modbus TCP and Modbus RTU over TCP.
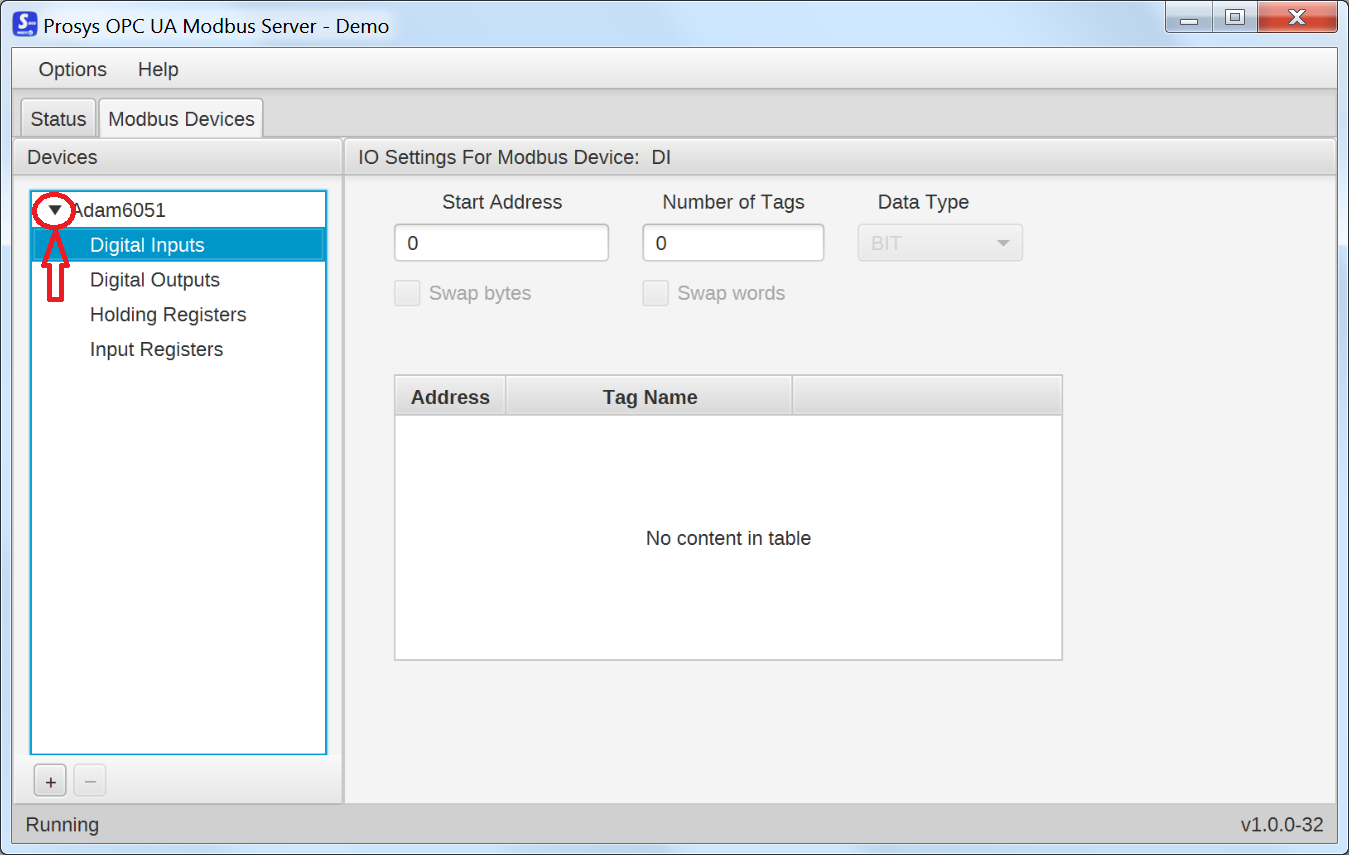
The ADAM-6051 has 12 digital input channels and 2 digital output channels. To configure the channels, expand the device configuration by clicking the arrow next to the device in the device list and select the Modbus register type to configure.
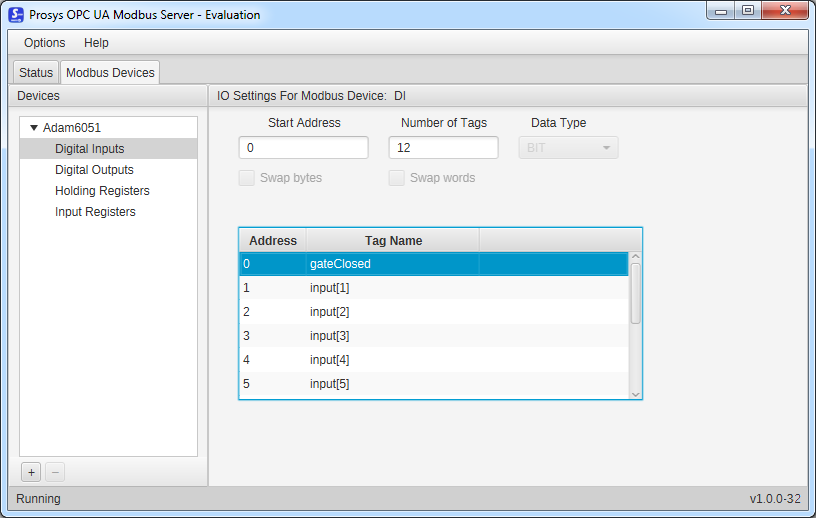
To configure the Modbus register items on to the OPC UA server, each register should be configured with a Start Address and the Number of Tags to expose. In this case, the ADAM-6051 Digital Input register address starts at 0 and has 12 inputs available. To expose all of the inputs, the register is configured to Start Address 0 and the Number of Tags is 12.
Once tags are configured, each tag can be renamed individually in the tag list found within each register configuration.
The Digital Outputs are configured just like the Digital Inputs. In this case, the ADAM-6051 has two inputs that start at address 16, so the Start Address is set to 16 and Number of Tags to 2.
The ADAM-6051 also stores counter values for the 12 input channels, which are located in the Holding Registers, starting at address 0 as well. The counter values are 32 bit long, so the DINT Data Type must be selected. The device uses little endian word order, so the words need to be swapped to get the correct value of the counters. The device also has other functions, but we won’t cover them in this tutorial.

Be sure to check the address numbering when configuring Modbus devices. The starting address of the device depends on the manufacturer and is either 0 or 1, as the registers start at e.g. 4x0001 while address numbering typically starts at 0. The Prosys OPC UA Modbus Server starts the addressing at 0.
To activate the new device configuration, the application either needs to be restarted or the service needs be started (either at shutdown of the GUI application or manually later).
If the service is started by clicking Yes when prompted at shutdown, the service is started and automatically switched to Automatic (Delayed Start) on Windows and autostart on Linux.
Installing licenses
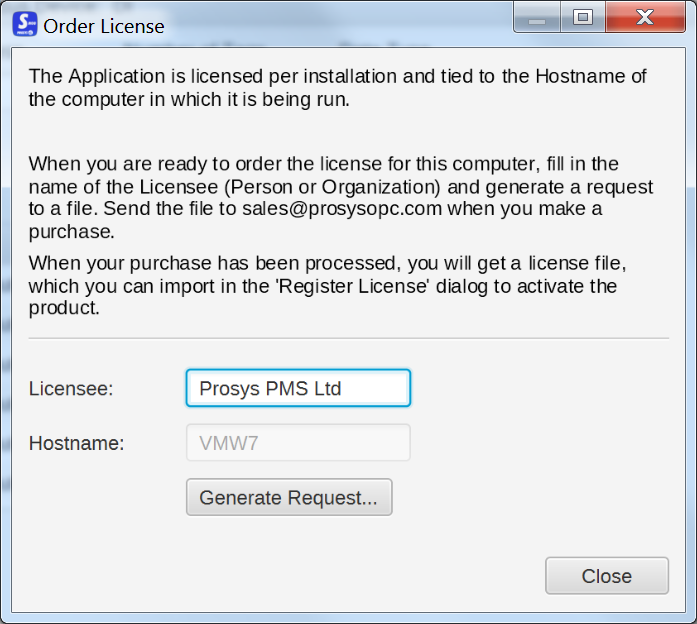
License request files can be generated by clicking on Order license in the Help menu. Enter the Licensee name and click Generate Request. License files are provided by sales@prosysopc.com.
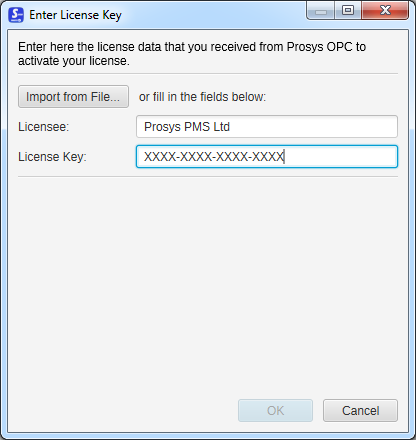
To install the provided license, select Enter license in the Help menu. Click Import from File and navigate to and select the license file. Alternatively, you can enter the Licensee and License Key manually.
The provided ‘License.lic’ file can also be transfered manually to the license path, shown in the table below, though a restart of the application is necessary to activate the license in this case.
| OS | Path |
|---|---|
| Ubuntu, RPM | /etc/ProsysOPC/ModbusServer/license/License.lic |
| Windows | C:\ProgramData\ProsysOPC\ModbusServer\license\License.lic |
Installing on a headless server
This tutorial explains how to use the Modbus Server in GUI environments, but it’s also possible to use the Modbus Server on computers which do not have a display attached. As the configuration files are created through the GUI, the easiest way to get the device and server configurations is to install the Modbus Server on a computer with GUI, like Windows or Ubuntu Desktop, configure the server and then move the configuration XML-files to the server. The XML format is designed to be easy to understand, so configuration changes can be done also by editing the XML directly.
To try the Modbus Server yourself, make an evaluation request
Tags: Modbus Server, OPC UA, SDK for Java, Guides
comments powered by DisqusAbout Prosys OPC Ltd
Prosys OPC is a leading provider of professional OPC software and services with over 20 years of experience in the field. OPC and OPC UA (Unified Architecture) are communications standards used especially by industrial and high-tech companies.
Newest blog posts
Why Do Standards Matter in Smart Manufacturing?
The blog post discusses the importance of standards in smart manufacturing, envisioning a future where auto-configurable systems in manufacturing rely on standardized data formats for seamless integration and reduced costs, with a focus on the OPC UA standard family as a key enabler.
OPC UA PubSub to Cloud via MQTT
Detailed overview of the demo presented at the OPC Foundation booth
SimServer How To #3: Simulate data changes on a server using an OPC UA client
A two-part step-by-step tutorial on how to write data changes on an OPC UA server using an OPC UA client.